Pre-Closing Preparations: Setting Up for Success
Your closing routine starts well before the blender shuts off. The decisions made during that final hour of service determine how clean, organized, and ready your workspace will be for the opening team. Getting these steps right prevents rushed cleanups and food safety gaps.
1. Check your last customer service time
Know exactly when you stop accepting new orders. This timing drives everything from equipment shutdown schedules to when deep cleaning can begin. Most juice bars set a last call 30 minutes before closing. This window gives you enough time to serve remaining customers and shift into closing mode.
Once service ends, confirm your space is clear. Walk through the seating area and check restrooms before starting any chemical cleaning procedures. Certain sanitation tasks require an empty dining area for safety reasons. A quick walk-through protects both your customers and your staff.
2. Review your sanitation log requirements
Sanitation documentation is not optional. Your sanitation log is a legal record that demonstrates compliance with food safety standards. Each shift requires entries covering cleaning activity times, sanitizer concentrations, refrigeration temperatures, and corrective actions taken during service.
Pull out your log before starting any closing tasks. Review what still needs to be recorded, such as equipment cleaning times, sanitizer strength, and fridge temperatures. Health inspectors focus heavily on temperature logs, so accuracy is non-negotiable.
Your log should also capture maintenance issues found during closing. If the blender base needs attention or a refrigerator is running warm, document it. Your morning crew can act on that information immediately rather than discovering problems mid-service.
3. Gather your closing supplies and equipment
Retrieve everything before you start. Running back and forth for forgotten supplies breaks your workflow and wastes time.
Different surfaces require different cleaning solutions. Sanitizer for food-contact surfaces differs from what you use on floors or countertops. Food-grade supplies must be clearly labeled and stored away from other chemicals. Verify your sanitizing solutions are at the correct concentration. Weak mixtures do not effectively eliminate bacteria.
Set up your cleaning tools before you start: clean bar rags, sanitizing buckets, designated scrub brushes, and surface cloths. Color-coded supplies keep cross-contamination risk low. One color handles food-contact surfaces, another covers general areas, and a third stays dedicated to restrooms.
Stock your closing station with measuring cups for chemicals, thermometers for checking sanitizer temperatures, and storage containers for perishables. Have labels and markers ready for dating products. Keep gloves and eye protection accessible as both are necessary when working with cleaning chemicals or disassembling equipment.
Having everything staged before you begin keeps your closing process systematic and uninterrupted.
4. Equipment Cleaning and Sanitization
Equipment sanitation follows a strict sequence. Each step removes food residue, then eliminates harmful bacteria. Rushing or skipping steps creates real food safety risks. Bacteria such as Salmonella and E. coli resist soaps and detergents, so equipment that looks clean isn't always safe.
Wash, rinse, and sanitize blender jars
Blender jars need a four-step cleaning process that targets seals, gaskets, and blade attachments; the spots where food particles trap bacteria. Start by removing loose debris and rinsing with warm potable water. Wash the jar with hot water at 60°C and detergent, scrubbing any areas with visible residue.
Rinse thoroughly with clean water to remove all detergent. Leftover detergent neutralizes your sanitizer, making it ineffective. Soak components in clean water at 75°C for at least 2 minutes, or apply sanitizer per label directions. Air dry all components on a clean draining rack.
Check seals and gaskets every cleaning cycle. Food and liquid trapped in small crevices allow microorganisms to form biofilms that resist standard cleaning methods. Replace any component that's deteriorated and can't be adequately cleaned.
Clean and store Store n' Pour containers
Store n' Pour containers require close attention to their seals and interior surfaces. These stackable containers have no sharp interior edges that can collect bacteria, but they still need thorough cleaning between uses. Wash with warm soapy water, focusing on neck areas and pouring spouts where product residue builds up.
Rinse all soap from containers and caps. Sanitize according to your facility's protocols, then air-dry completely. Store containers with their color-coordinated caps in a clean, dry area to prevent contamination.
Wipe down blender bases and equipment
Blender motor bases cannot be immersed in water, as moisture can damage electrical components. Unplug each unit before cleaning. Wipe the exterior with a well-wrung damp cloth and appropriate cleaning solution. Keep the cloth as dry as possible to prevent water from reaching electrical parts.
Use a cotton swab or toothpick to clear trapped debris from the drive socket. Wipe down the housing, gaskets, and metal components with a sanitizing solution. For units with sound enclosures, open and clean interior surfaces following manufacturer specifications. Dry all surfaces completely before storage so your equipment is ready for the next opening shift.
5. Surface Cleaning and Final Sanitization
Equipment sanitation handles the hard work. Surface sanitation finishes it. Every countertop, glass panel, and customer-facing table needs attention before your shift ends. Skipping this phase leaves pathogens on surfaces your team and customers touch every day.
Sanitize all countertops and work surfaces
Start by scraping food debris off countertops. Then wash with hot water and detergent. This step matters because organic matter shields bacteria from sanitizers. Your sanitizer cannot do its job on a dirty surface.
Rinse all detergent residue before applying sanitizer. Detergents are alkaline, sanitizers are acidic, and mixing them neutralizes both.
Let the surface air dry completely. Towel drying after sanitizing reintroduces bacteria from the cloth. Non-food-contact surfaces only need to be cleaned and rinsed. Know which surfaces fall into which category so your team doesn't waste time or cut corners.
Clean and wipe down glass surfaces
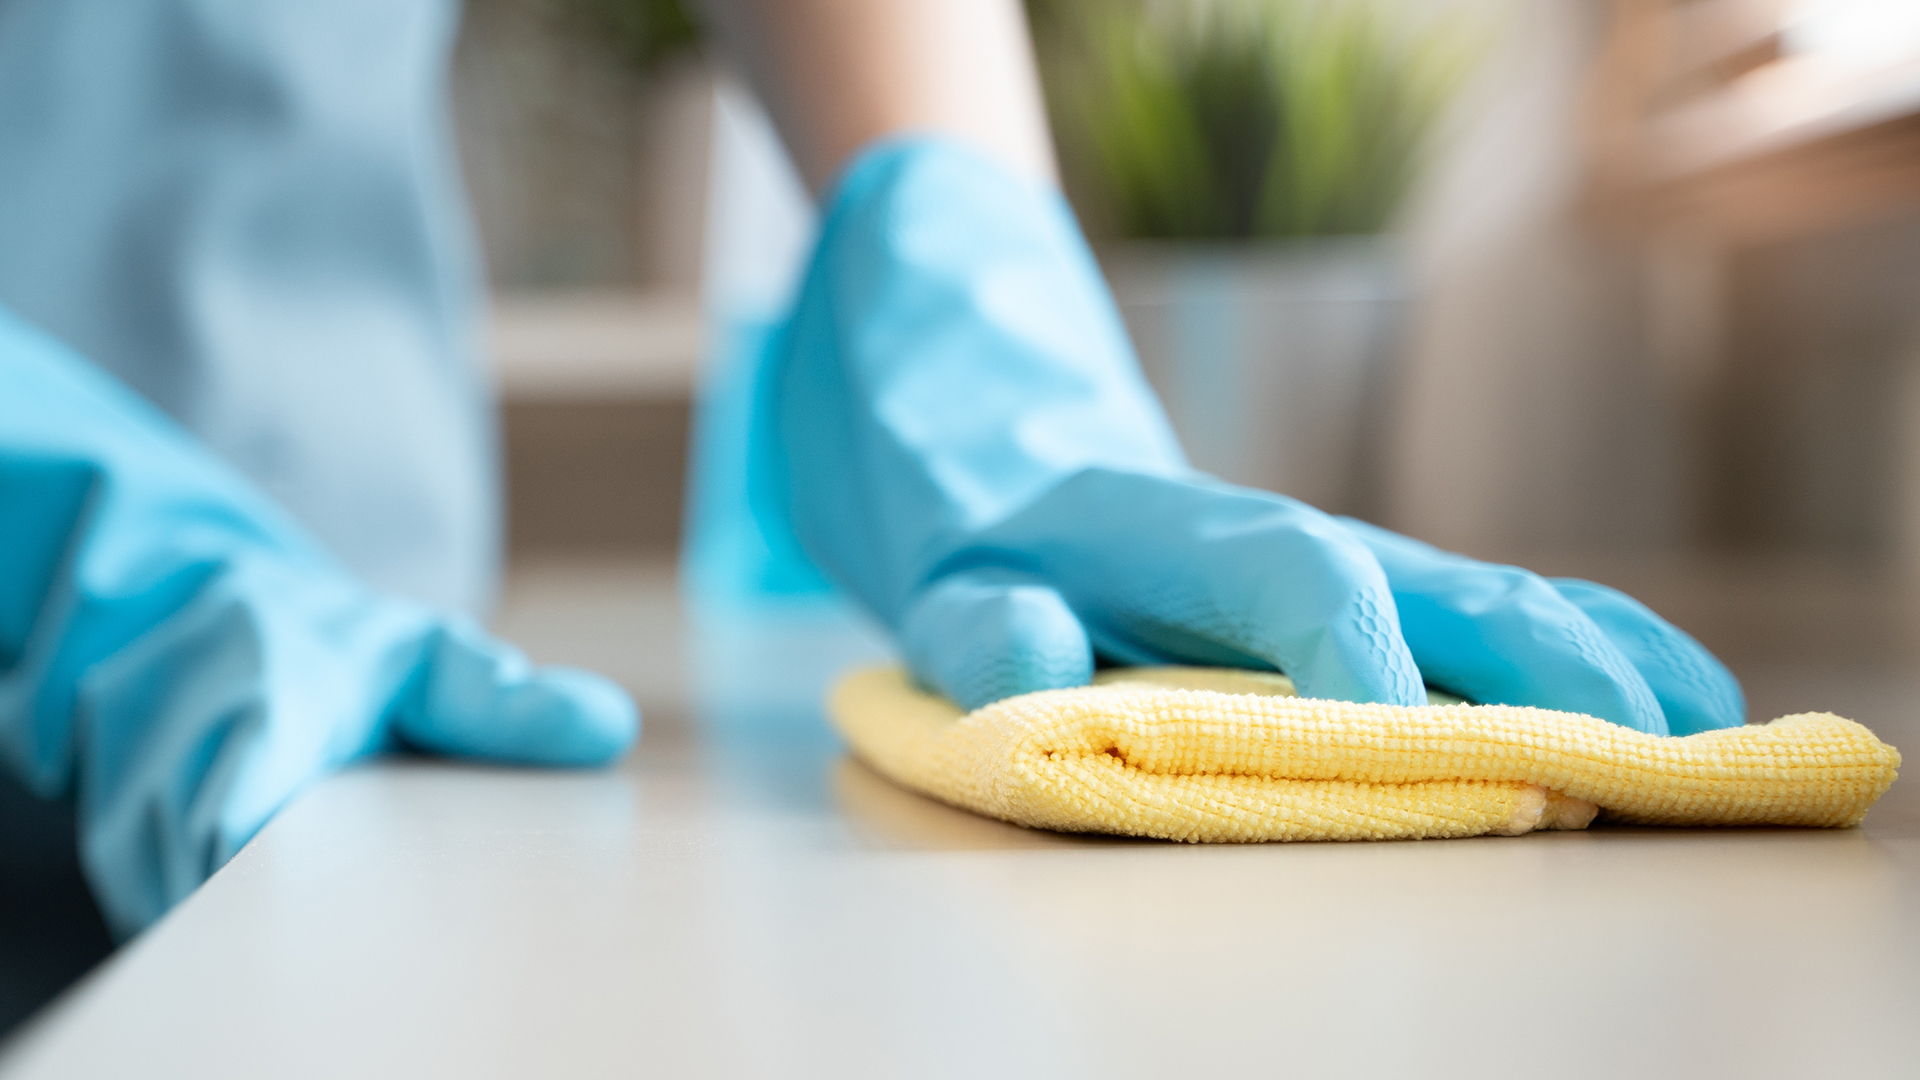
Display cases, doors, and menu boards need streak-free results. Spray glass cleaner and wipe in one direction with microfiber cloths. For stubborn residue, apply cleaner and let it sit before wiping. Clean glass reflects well on your operation.
Wipe down tables
Customer-facing surfaces carry fingerprints, spills, and bacteria from every interaction. Wipe tables with a food-safe sanitizer. These are high-touch transfer points that need consistent attention throughout and at the end of every shift.
Mop floors and store cleaning materials properly
Sweep loose debris before mopping. Work from cleaner areas toward dirtier sections using an approved disinfectant solution. This sequence prevents you from spreading contamination back across already-cleaned floor space.
Store all cleaning materials correctly once you're done. Keep chemicals in their original containers, tightly sealed, and away from food storage areas. Store supplies at ground level to reduce spillage risk during handling. Proper storage protects your team and keeps your cleaning products effective for the next shift.
6. Product Storage and Organization
Food storage decisions at closing time directly impact product quality and safety for your next shift. Proper storage prevents spoilage, reduces waste, and keeps you compliant with health regulations. Your closing checklist must include specific steps for organizing perishables, monitoring temperatures, and rotating inventory.
Refrigerate all opened purees and products
Opened purees, juice concentrates, and smoothie ingredients need immediate refrigeration after service ends. Fresh juice delivers the most nutritional value when consumed quickly, but proper storage extends usability up to 48 hours. Never hold fresh juice beyond 72 hours because nutrients and flavor degrade significantly past that point.
Store the opened bottles and containers with lids tightly sealed. Vent lids slightly when placing hot items in refrigeration, then tighten once cooled. This prevents condensation buildup while allowing proper cooling. Separate large quantities into smaller containers to speed cooling and maintain safe temperatures throughout the product.
Cover the ice bin
Regulatory agencies classify ice as food. It requires the same sanitary handling as every other product you serve. Cover your ice bin at the end of closing procedures to protect contents from airborne contamination overnight. Schedule a full ice bin cleaning and sanitization every six months as part of your regular maintenance routine.
Check and record refrigeration temperatures
Temperature documentation proves your facility maintained proper food safety protocols throughout service. Check refrigerator temperatures at closing and record readings in your sanitation log. Safe refrigeration operates between 36°F and 46°F. Temperatures above 46°F allow bacterial growth, while readings below 36°F risk freezing products and damaging quality.
Record both minimum and maximum temperatures when your unit displays these readings. Out-of-range temperatures require immediate corrective action and clear documentation in your log.
Organize inventory using FIFO method
FIFO stands for First In, First Out. FIFO ensures older ingredients get used before newer stock arrives. This approach minimizes food waste and keeps ingredient freshness consistent. Place new deliveries behind existing stock so your opening team always pulls older products first. Label all containers with received dates and use-by dates to make rotation straightforward. Clear labeling removes guesswork and keeps your team focused on quality control rather than sorting through unmarked containers.
7. Final Security and Documentation
The last few steps of your closing checklist protect your operation legally and prepare your team for a smooth opening the next day.
Complete your sanitation log
Your sanitation log is what health inspectors verify during facility evaluations. Record refrigeration temperatures, cleaning completion times, and employee initials for each completed task. Document corrective actions taken during the shift, such as adjusting sanitizer concentrations or addressing equipment malfunctions. This creates clear accountability across your team.
Add production details to your logs where applicable. Record juice types prepared, batch times, pull dates, and lot codes for full traceability. This information becomes critical if product recalls occur or customer illness reports surface.
Turn off equipment and secure the space
Power down all equipment except refrigeration units. Verify blenders, rapid rinsers, and auxiliary equipment are unplugged. Check that all windows and exterior doors are locked. Walk the perimeter to confirm no combustibles sit near the building.
Prepare opening setup for next day
Set up your workspace so openers can start without delays. Restock service areas, stage clean equipment, and flag any maintenance needs discovered during closing. A well-prepared station gives your morning crew a head start rather than a to-do list.
Conclusion
A consistent closing routine protects your food safety compliance, reduces equipment downtime, and keeps your team aligned across shifts. Each step in this checklist serves a direct business purpose such as fewer health violations, less product waste, and smoother morning openings.
Your sanitation log does more than satisfy health inspectors. It creates a communication trail between shifts, so your opening crew knows exactly what happened the night before.
Follow this checklist every night. The results show up in reduced spoilage, better equipment lifespan, and a team that operates with clarity and accountability.